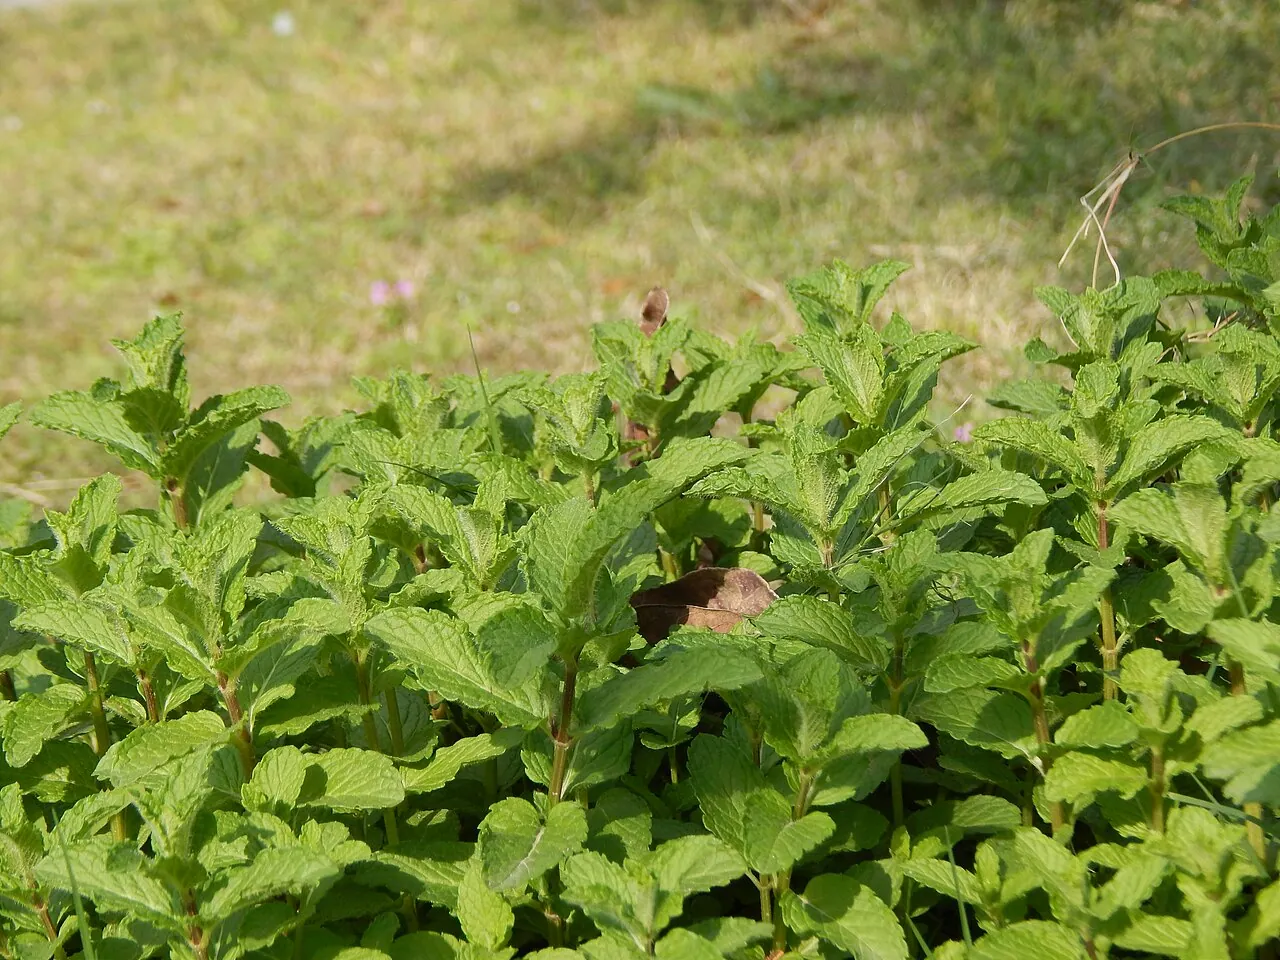

Mint is easy to grow, but it is also extremely good at spreading. The simplest approach for most British gardens is to plant one mint in its own container, keep the compost moist during active growth and pick the fresh tips regularly. It will usually die back over winter and return in spring. A pot lets you enjoy the leaves without giving the plant free rein through a flower border or vegetable bed.
Why a pot is usually the best place for mint
Many varieties of mint spread through underground stems called rhizomes. In open ground those stems can travel away from the original planting spot and send up new shoots wherever they find room. Digging out unwanted mint later is awkward because small pieces left behind may regrow.
A separate pot keeps the roots more manageable. It also makes it easier to move the plant when a patio becomes too hot or a particular corner doesn't get enough light. Choose a container with proper drainage holes. Mint enjoys moisture in its compost, but that is not a reason to leave roots sitting in a permanently waterlogged pot.
A pot placed directly on an open garden bed is not necessarily a perfect barrier. Rhizomes and roots can find their way through drainage holes into the soil beneath. Stand the pot on paving or an appropriate support if keeping mint contained is the priority, and inspect around its base occasionally.
You can also grow mint in a sunk container in the border, as the Royal Horticultural Society suggests, but keep the rim above the soil surface. That reduces the chance of stems simply crossing the edge and rooting outside.
Choosing a mint variety for cooking
The word 'mint' covers more than one flavour. Spearmint is a familiar choice for mint sauce, salads and many savoury dishes. Peppermint has a sharper, more intense character that some people prefer for tea. Apple mint offers softer, rounded leaves and a distinct scent. Chocolate mint and other named selections have their own qualities, though their flavour may not taste exactly as their names suggest.
It is worth smelling a healthy plant before buying it rather than relying solely on the label. One or two varieties you genuinely enjoy will be more useful than a collection of pots you hardly harvest.
Buy a properly identified culinary mint from a reputable supplier. Not every plant commonly described as a mint is the same thing botanically, and some plants have different suitability for eating. The RHS specifically cautions about pennyroyal, which should not be treated as interchangeable with ordinary culinary mint.
If you intend to grow two or three flavours, give each a separate container. Their underground growth can intermingle in a shared pot, making it difficult to know which stems belong to which variety later.
When and where to plant mint
Spring and autumn are convenient times to plant mint in the UK. Garden centres often sell established plants during much of the year, but planting when temperatures are moderate gives roots an easier start than exposing a newly purchased pot to severe frost or a hot, dry spell.
Mint grows in sun or partial shade. A site with morning sunshine and some protection from harsh afternoon heat can work particularly well for a container. If the stems become long and weak and the leaves are pale, try somewhere brighter. If compost is constantly drying and leaves wilt by early afternoon, review the pot size, watering and position.
Use peat-free multi-purpose or soil-based compost. The goal is an open, moisture-retentive mixture that still drains freely. Avoid reusing old compost from a pot where another plant recently failed because of an unexplained root problem.
Choose a container that leaves room for growth around the rootball. There is no benefit in squeezing a vigorous plant into a tiny decorative pot where roots immediately become congested. Equally, a very oversized, wet container can be awkward to manage, especially over winter.
How to plant a shop-bought mint
- Check the roots and compost first. Water the nursery pot if it is very dry, then slide the plant out gently. Look for healthy roots and signs that it has been cramped in its small pot.
- Prepare a container with drainage holes. Add fresh peat-free compost, leaving room for the existing rootball at roughly its original planting depth.
- Set the mint in the middle. Keep the crown at about the same level it was growing before; do not bury the stems deeply.
- Fill around the roots. Add compost into gaps and firm it lightly with your fingers. Avoid crushing the rootball.
- Water thoroughly. Allow excess water to leave through the bottom and check whether the compost has settled away from any edges.
- Place the pot in suitable light. Keep an eye on it for the first few weeks while roots explore their new compost.
You do not have to apply a complicated feeding schedule immediately. Start with decent compost, appropriate light and water. Inspect the plant's response before deciding whether extra feeding would help.
Watering mint without drowning it
Container-grown mint needs regular attention in the growing season because the available compost dries much faster than open garden soil. On a warm day, a pot in a sheltered corner may still be moist while a smaller dark pot on a sunny patio has dried considerably.
Check with a finger below the surface rather than watering just because the top appears pale. If the compost feels dry and the pot is noticeably lighter, water thoroughly so moisture reaches the rootball. If it is already wet, leave it and check again later.
Do not keep a pot permanently submerged in a deep saucer of water. An occasional thorough drink followed by drainage is better than leaving roots without air. In winter, the plant may be dormant and need far less water, particularly outdoors during wet weather.
If a badly dried-out pot sheds water down the sides, apply water gradually and check whether it is actually entering the rootball. Otherwise you can mistakenly think the plant has been watered when the centre remains dry.
Harvesting mint so the plant keeps growing
Harvest the fresh, soft tips as the plant develops rather than stripping every leaf from one long stem. Use clean fingers or scissors and cut just above a pair of healthy leaves where possible. Side shoots can grow from the lower nodes, helping the plant become bushier.
A few sprigs for dinner will rarely trouble an established mint, but avoid removing almost all the foliage from a tiny plant that has only recently been potted. Let it settle and put on healthy new growth first.
For a larger harvest, take a selection of mature stems rather than scalping the entire pot. The young tips are often particularly fragrant. Older leaves can still be useful, but check for insect damage, tough stems and any signs of disease before bringing them into the kitchen.
In autumn, outdoor mint gradually slows down and its top growth may die back. This is normal for a hardy herbaceous perennial, not necessarily evidence that you've killed it. The root system can remain alive and produce fresh shoots the following spring. Don't throw out a dormant pot without giving it time to restart.
You can freeze or dry surplus leaves. The RHS notes that freezing preserves mint's flavour better than drying. Wash leaves if needed, dry off excess surface moisture and use a food-safe container or bag. Label different varieties if you are storing more than one.
Divide mint when the pot becomes crowded
A healthy mint can eventually fill its container with roots and thick rhizomes. You might notice that water runs off the surface, growth is concentrated around the edge or the centre of the plant has become woody and sparse. These are signs that it may benefit from division or repotting.
The RHS recommends dividing established plants in spring or autumn. Remove the clump from its pot and inspect it. Using clean secateurs or a sturdy knife, divide it into manageable sections, each with healthy roots and shoots or suitable growing buds. Discard the exhausted or dead centre where necessary.
Replant one vigorous division into fresh compost in the original container. The others can be planted into separate pots or shared with somebody who actually wants mint. Don't empty old rhizomes into a border where they may establish unintentionally.
Water the divisions and protect them from drying out while they settle. You do not need to replace every mint plant every year; division every few years is often enough to keep a vigorous container planting productive.
How to take mint cuttings
Mint is also simple to propagate from fresh shoots. In spring or summer, take a healthy, non-flowering shoot and remove the leaves from its lower portion. Place the base of the stem in water, keeping the leaves above the surface. Put the container somewhere bright but not excessively hot.
Roots can appear along the submerged section. Once you have a useful little root system, move the cutting into a small pot of moist compost. Avoid leaving delicate roots exposed to dry air while you work.
Alternatively, use suitable soft stem cuttings in compost. Keep the growing medium evenly moist while the cuttings establish, and avoid burying leaves. Propagation gives you additional plants of the same named variety, which is particularly helpful if a packet of mint seed would not reliably produce the same flavour.
If your original pot is congested, division is usually quicker than taking several tiny cuttings. Use cuttings when you want a small backup plant or have a particularly good shoot to share.
Common mint problems and what to check
Leaves wilting despite frequent watering: Feel the compost below the surface. It might still be dry in the centre, or the roots could be sitting in a waterlogged pot. These problems require opposite responses, so don't automatically add more water.
Brown or orange marks under leaves: Mint rust is one possibility. Remove affected material and check the condition of the plant; the RHS lists rust as a common mint problem. Don't assume every discoloured leaf is due to thirst.
Small insects on new shoots: Look closely for aphids or other pests. Their feeding can distort young growth, especially on plants kept in sheltered positions. Inspect neighbouring leaves before deciding how extensive the problem is.
Long stems with few leaves: Review light levels and your harvesting habit. Regularly picking the tips of a vigorous plant helps encourage side shoots. A badly congested pot may need division as well.
Mint appearing beyond the pot: Check for a stem rooting over the rim or rhizomes growing through the drainage holes. Remove unwanted growth promptly and move the container off bare earth if necessary.
Frequently asked questions
Does mint need full sun?
No. Mint generally does well in full sun or partial shade, provided the compost is not allowed to dry severely. In a hot spot, a little afternoon shade may make a container easier to manage.
Can mint stay outside all winter?
Many culinary mints are hardy in the UK. Their leaves and stems commonly die back, but the roots survive and restart in spring. Ensure the container drains and don't mistake seasonal dormancy for plant failure.
Should I grow mint from seed or buy a plant?
For a first kitchen pot, buying a correctly named culinary plant is usually simpler and faster. Seeds are an option, but propagation from cuttings or division also works well, and these methods retain the characteristics of an existing variety.
Sources and further reading
- Royal Horticultural Society — How to grow mint. Choosing culinary varieties, planting, dividing, watering and harvesting.