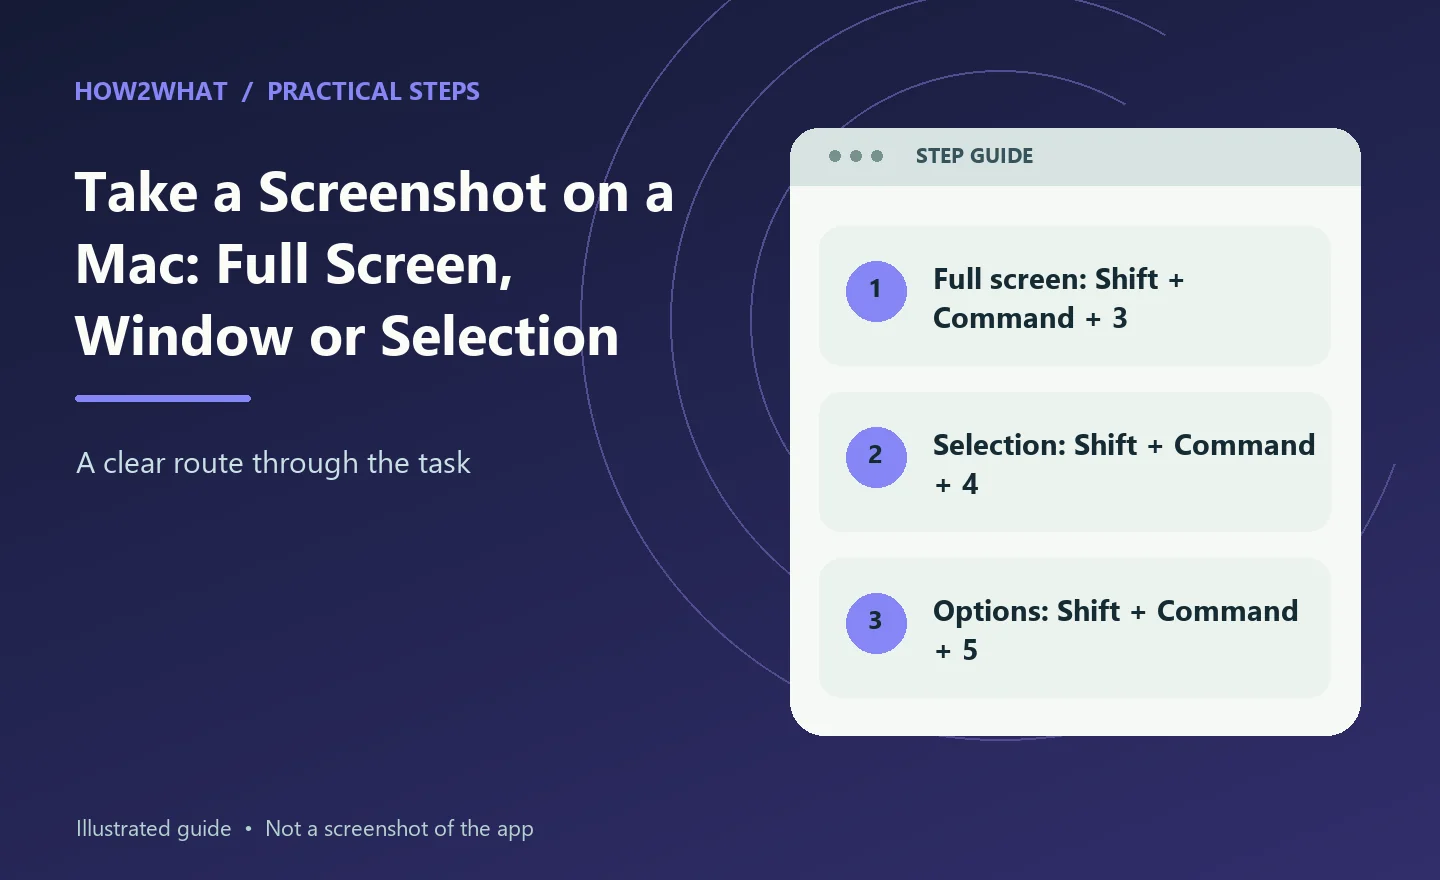
macOS has built-in screenshot tools for the whole screen, a selected area, a single window and screen recording. You do not need an extra app for ordinary captures. The three shortcuts worth remembering are:
- Shift + Command + 3 — capture the whole screen;
- Shift + Command + 4 — select an area;
- Shift + Command + 5 — open the screenshot and recording controls.
By default, screenshots are normally saved to the desktop.
Capture the whole screen
Press:
Shift + Command + 3
macOS captures the full display. If you use more than one monitor, each screen can be captured as a separate image. A thumbnail usually appears briefly in the lower corner. Click it if you want to edit the image immediately, or leave it alone and the screenshot will save automatically. This is the fastest option when you need to show the complete desktop state.
Capture part of the screen
Press:
Shift + Command + 4
The pointer changes to a crosshair. Click and drag around the exact area you want. Release the mouse or trackpad button to take the screenshot. If the selection is wrong before you release, you can cancel with Escape. This is generally the best method for sharing a small section of a webpage, error message or document without exposing the rest of the desktop.
Capture one window
Press:
Shift + Command + 4
Then press the Space bar. The pointer changes to a camera. Move it over the window you want and click. macOS normally includes the window's shadow. To exclude it, hold Option while clicking the selected window. This is useful for app instructions and support screenshots because the image contains only the relevant window rather than the menu bar, desktop and unrelated apps.
Open the screenshot toolbar
Press:
Shift + Command + 5
A control bar appears near the bottom of the screen.
From there you can choose:
- entire-screen capture;
- window capture;
- selected-area capture;
- full-screen recording;
- selected-area recording.
The Options menu also lets you choose where screenshots are saved, set a timer and change some capture behaviour. If you take screenshots regularly, this toolbar is worth learning because it exposes most controls in one place.
Change where Mac screenshots are saved
Open the screenshot toolbar with:
Shift + Command + 5
Choose Options. Select a save location such as Desktop, Documents, Clipboard or another available folder. You can also choose another location through the folder picker. If screenshots keep "disappearing", check this setting. Someone may previously have changed the destination away from the desktop.
Copy a screenshot instead of saving it
Hold Control as part of the screenshot shortcut. For example:
Control + Shift + Command + 4
copies a selected-area screenshot to the clipboard rather than creating a normal file. You can then paste it into Messages, Mail, a document or an image editor. This is convenient for screenshots you only need once and do not want cluttering the desktop.
Edit a screenshot immediately
After taking a screenshot, a small thumbnail usually appears for a few seconds. Click it. The Markup window lets you crop, draw, add shapes, insert text and make other quick edits. When finished, choose Done. If you ignore the thumbnail, the screenshot simply saves to the selected location. For more extensive editing, open the image in Preview or another image editor afterwards.
Take a screenshot with a timer
Press:
Shift + Command + 5
Open Options and choose the timer. A timer is useful when you need to open a menu, hover over an item or prepare a temporary screen state before the image is captured. Set the delay, choose the capture type and start the screenshot. Use this instead of trying to perform an awkward sequence of mouse and keyboard actions at the same instant.
Screenshot a menu
Open the menu you want to show. Use Shift + Command + 4 and drag over it, or use the timed screenshot tool if the menu disappears too easily. To capture a menu and its parent window, use the window-capture method where appropriate. If you need a specific tooltip, a short timer is often the easiest way to keep it visible.
Record the screen instead
Sometimes a screenshot cannot explain a sequence. Press Shift + Command + 5 and choose one of the recording options. You can record the full screen or a selected area. Use Options to choose microphone input if you want narration. When finished, stop the recording from the menu bar. Screen recordings create larger files than screenshots, so trim them before sharing when only a few seconds matter.
If the shortcuts do not work
Open System Settings > Keyboard > Keyboard Shortcuts and inspect the screenshot shortcuts. They can be disabled or changed. Restart the Mac if the Screenshot app is unresponsive. Check whether another application has claimed the same keyboard shortcut. If an external keyboard has unusual Command-key mapping, test the built-in keyboard or verify the modifier-key settings. You can also open the Screenshot app directly through Spotlight.
Where screenshots are stored
By default, macOS normally places them on the desktop with a name beginning Screen Shot or Screenshot, followed by the date and time. If you changed the destination through Shift + Command + 5, look there instead. Use Finder search if necessary. Sort files by date to find the newest capture. If you used the Control modifier, remember that no normal file was created; the screenshot is waiting on the clipboard to be pasted.
Taking clear screenshots for instructions and support
When documenting a fault, capture the error message and just enough of the surrounding window to show where it appeared. Crop away unrelated email, open customer files and desktop notifications before sharing. If a dropdown menu vanishes when you press the shortcut, use Shift + Command + 5, choose a timer and open the menu during the delay. For a long settings page, several legible screenshots often work better than one tiny image of the entire display. Give the files descriptive names so you can identify them later. If a particular app prevents capturing protected content, check that app's permissions and support guidance rather than assuming macOS has malfunctioned.
Keep private information out of screenshots
Look beyond the area you are discussing. The menu bar, Dock, browser tabs and desktop can reveal usernames, company names, open files and notifications. Use selected-area capture or window capture instead of the entire screen. For sensitive information, crop it out before sharing. If a screenshot must be redacted, use an opaque redaction method. A semi-transparent highlight or blur may still leave information recoverable or readable.
The quickest method to remember
If you only learn one shortcut, make it Shift + Command + 4. It lets you draw a box around exactly what matters and produces a clean image without later cropping. Use Shift + Command + 3 when you truly need everything, and Shift + Command + 5 when you want more control.
Source checked: Apple Support: Take a screenshot on Mac.