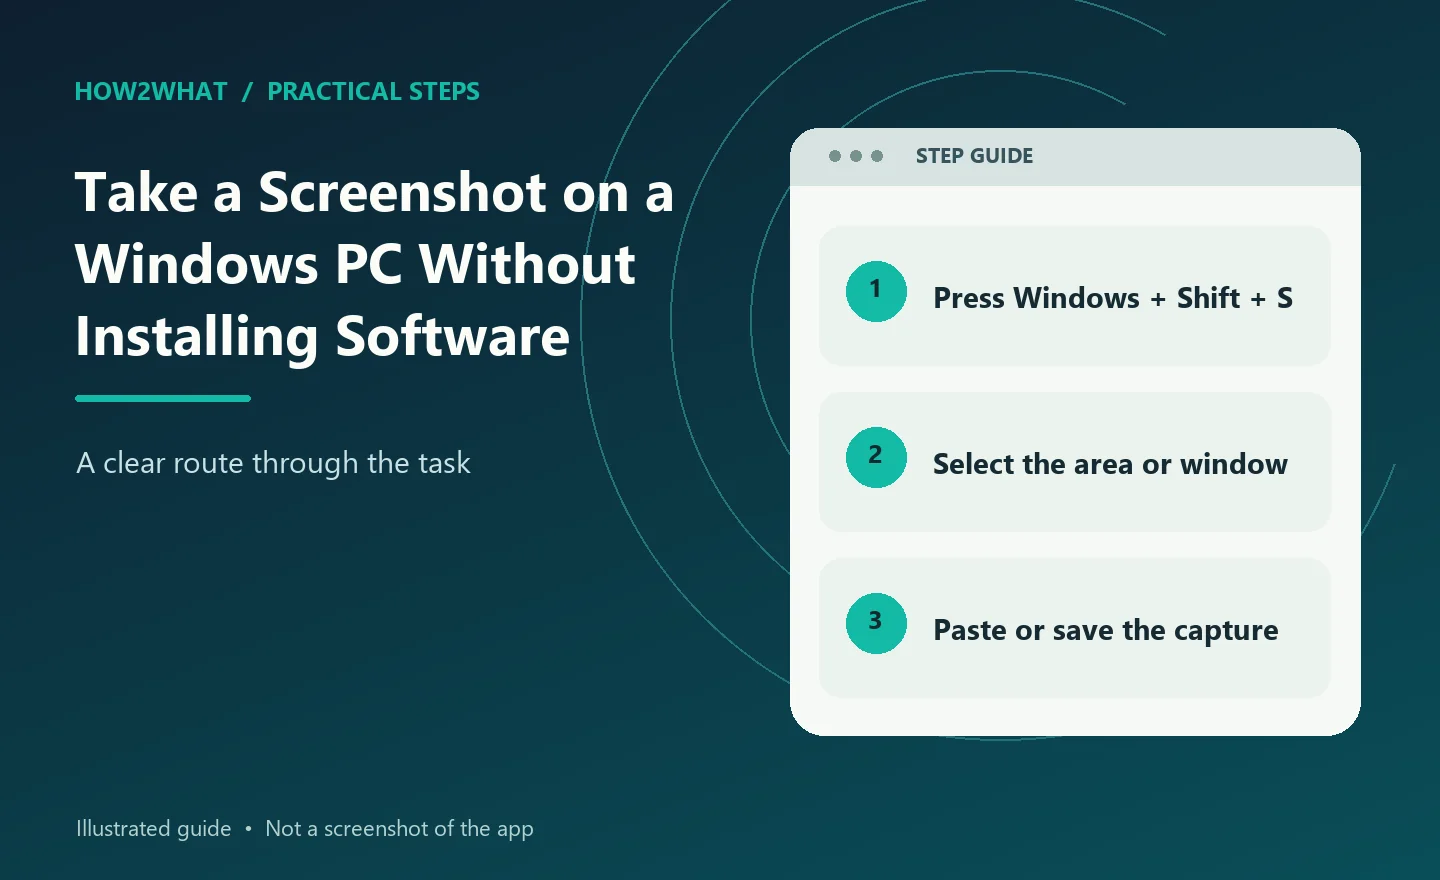
On a Windows PC, you can capture the whole screen, one window or a selected area without installing anything. The most useful shortcut on Windows 11 is Windows + Shift + S, which opens the Snipping Tool capture overlay. Desktop PCs and laptops use the same Windows tools. The only real hardware difference is that a full-size desktop keyboard usually has an obvious Print Screen key, while compact keyboards sometimes hide it behind an Fn layer.
Capture a selected area
Press:
Windows + Shift + S
The display dims and the Snipping Tool controls appear. Choose the rectangular snip for most screenshots. Drag around the area you want. The image is copied to the clipboard. Paste it into an email, document, chat or Paint with Ctrl + V. A notification may also appear. Click it to open the screenshot in Snipping Tool so you can crop, annotate and save it. This is the cleanest method for support screenshots because you can exclude unrelated parts of the desktop.
Capture the full screen with Print Screen
Press:
PrtSc or Print Screen
Windows copies the entire desktop to the clipboard. Open Paint and press Ctrl + V. Save the image as PNG or another appropriate format. If you have multiple monitors, the full capture can include the whole combined desktop across all screens. On some Windows 11 systems, Print Screen is configured to open Snipping Tool instead. That is normal and can be changed in Windows settings.
Save a full-screen screenshot automatically
Press:
Windows + PrtSc
Windows normally saves a PNG automatically in:
Pictures > Screenshots
The screen may briefly dim to confirm the capture. This shortcut is useful when taking several screenshots in succession because every capture becomes a file without needing to paste it manually. If nothing appears in the Screenshots folder, check OneDrive settings and whether the Print Screen key is being intercepted by another application.
Capture one window
Click the window you want. Press:
Alt + PrtSc
Only the active window is copied to the clipboard. Paste it with Ctrl + V. This is useful for capturing an error message, browser, application or dialog box without the rest of the desktop. If the window has pop-up menus, you may need the Snipping Tool delay instead.
Use Snipping Tool directly
Search Start for Snipping Tool. Choose New to begin a capture. The tool supports rectangular, free-form, window and full-screen captures. Current versions can also include screen-recording features. Use the delay control when you need to capture something that appears only after opening a menu or hovering over an item. Once the screenshot is open, use the crop and markup tools, then save it.
Where screenshots go
The answer depends on the method.
Windows + Shift + S: clipboard first, with an option to open and save through Snipping Tool.
PrtSc: clipboard.
Alt + PrtSc: clipboard.
Windows + PrtSc: normally Pictures > Screenshots.
Snipping Tool: you can choose where to save, and current versions can remember or autosave captures depending on settings.
OneDrive can also back up or redirect screenshots. If you are searching for a file after using a clipboard-only shortcut, there may not be a file yet.
Screenshot on a keyboard without Print Screen
You do not need the Print Screen key. Use:
Windows + Shift + S
This works on current Windows installations and gives more control anyway. If your compact keyboard does have Print Screen as a secondary legend, hold Fn with that key when you specifically want the Print Screen function. External gaming keyboards may remap keys through manufacturer software, so check the keyboard profile if standard shortcuts behave unexpectedly.
Capture a game
Windows includes Game Bar features that can capture games and some applications. Press:
Windows + G
to open Game Bar. The capture widget can take screenshots and record supported applications. Some games also have their own screenshot shortcut through Steam, Xbox, NVIDIA, AMD or another launcher. If you want screenshots stored alongside game captures rather than in Pictures, use the capture system built into the game platform you actually use.
Capture a long webpage
A standard Windows screenshot captures only what is visible. For a full scrolling webpage, use a browser's built-in web-capture function if available. Microsoft Edge and some other browsers can capture more than the visible viewport. Another option is to print or save the page as PDF, which is often better when the goal is to preserve text rather than create one enormous image. Be careful with browser screenshot extensions because they can request broad access to webpage contents.
Capture an error before it disappears
If an error remains on screen, use Alt + PrtSc for the active dialog or Windows + Shift + S for a selected area. If it disappears when you click elsewhere, open Snipping Tool and set a short delay. Start the timer, reproduce the error and wait for the capture overlay. Also write down any error code in plain text. A readable error code is easier to search than a blurry screenshot.
Copy screenshots directly into messages
For fast support conversations, you often do not need to save a file. Take a selected-area screenshot with Windows + Shift + S. Click the message box in the app or website. Press Ctrl + V. Many email and chat services accept the clipboard image directly. This avoids filling the Pictures folder with one-use screenshots.
Screenshot quality
Use PNG for interface screenshots where text needs to remain sharp. JPEG is better suited to photographs and can introduce visible compression around small text. Do not resize a screenshot down before checking that the text remains readable. If you are documenting a problem, include enough context to show which application and part of the interface you are using, but not so much that private information is exposed.
Privacy before sharing
Look for:
- account names;
- email addresses;
- open browser tabs;
- notifications;
- customer details;
- file paths containing names;
- licence keys;
- payment details.
Crop unnecessary areas. If something sensitive must be hidden, use a true opaque redaction or remove that part of the image. Do not rely on a semi-transparent marker.
If Print Screen does not work
Try Windows + Shift + S. If that works, screenshot functionality is fine and the issue is probably specific to the Print Screen key or its settings. In Windows Settings, search for the accessibility option that controls whether Print Screen launches screen snipping. Test another keyboard if possible. Check gaming or keyboard software for remapping. Restart Windows. There is normally no need to download a special screenshot driver.
Sources checked: Microsoft: Snipping Tool and Microsoft: Windows keyboard shortcuts.